HOW I BUILD MY CAVALRYMEN.
I thought it may be of interest to explain the background to how I first designed mounted troops for my armies before detailing the actual construction methods.
On the matter of cavalry, the original Miniature Warfare magazine article on which my armies are based, proposed the use of a larger size of screw for cavalry. I never liked that idea at all. I already had a horse pulling vehicles so could not reconcile myself to not using that horse in some way for cavalry too. The issue was how ???
To marry up a screw and a flat plastic card horse into a realistic cavalryman eluded me for many years. The obvious answer was to deepen the slot in the screw so it could sit on the horse but then the horse would fall over, so how to provide the stability needed ??? Than one day while doing some tiling I looked a little more closely at the tile spacers.....was this a pair of legs ???
After some experimentation I found that by cutting the spacer up I could indeed create a pair of legs, drilling a hole through a horse and fitting the legs provided a stable platform for a screw with a deepened slot to ride the horse.....hey presto a cavalryman !!!
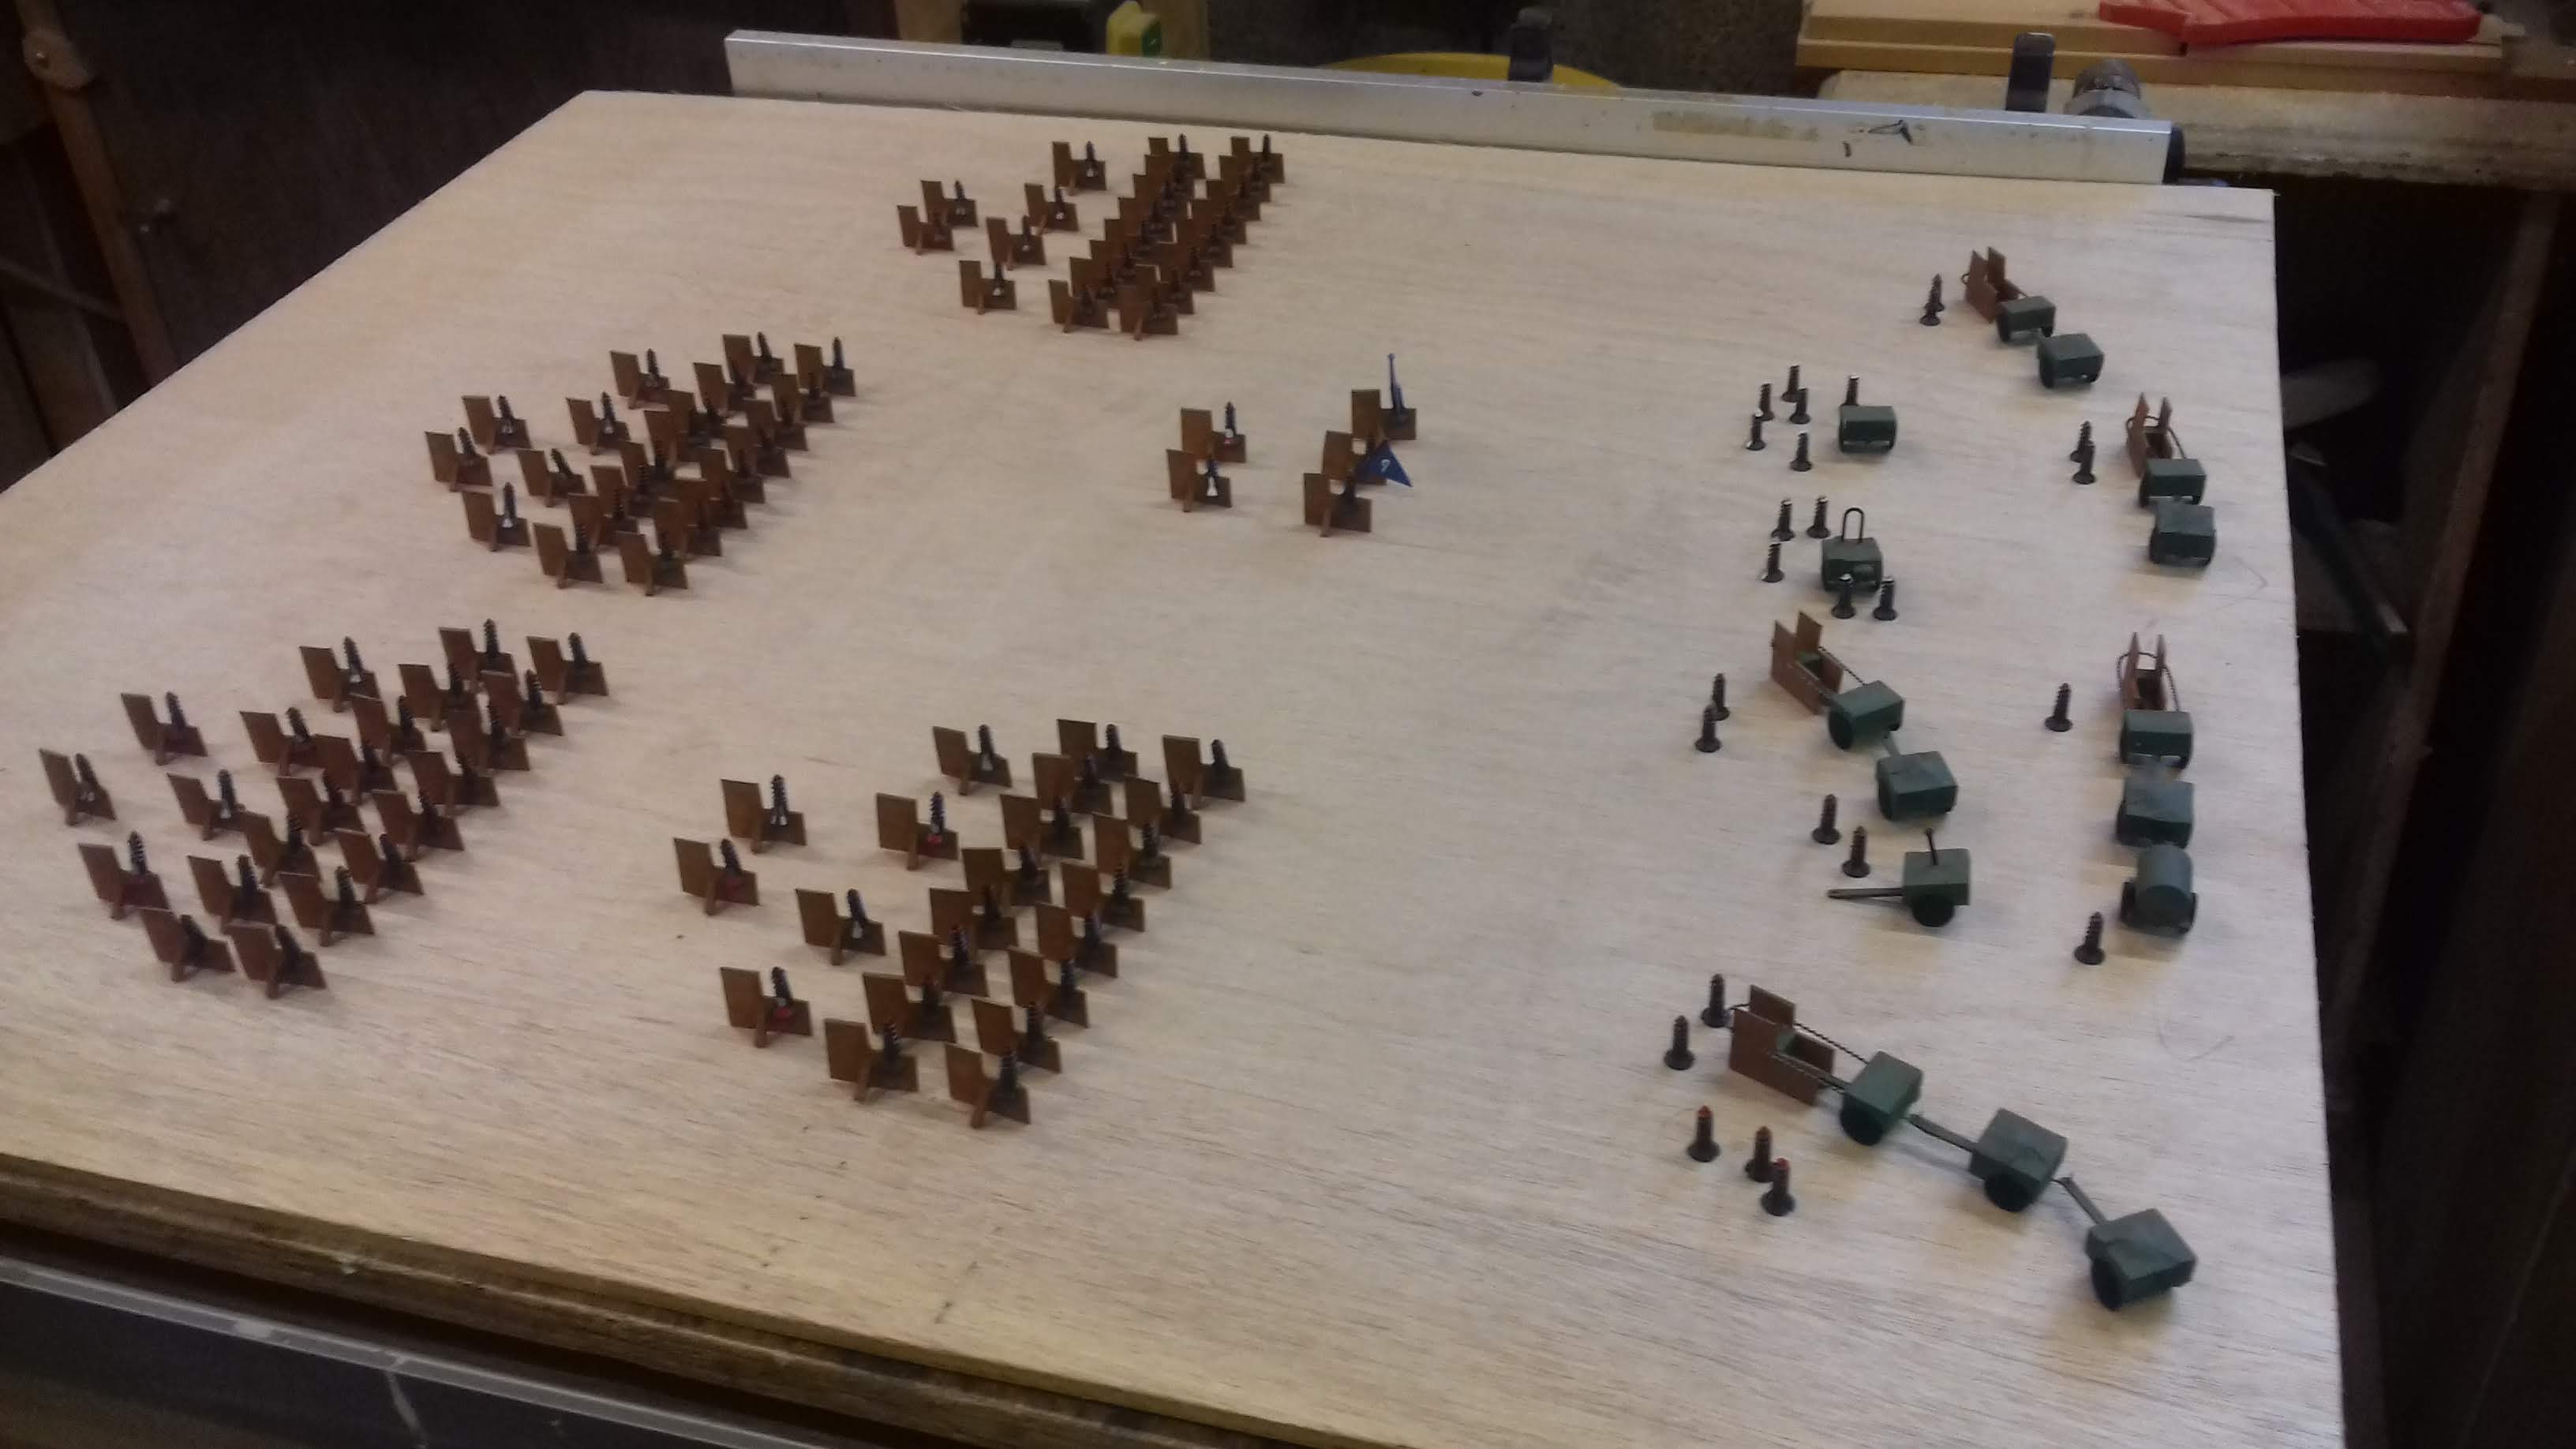
I realize that a horse with only two legs sounds weird but of course it is no stranger than either using a screw as a soldier or indeed having a flat horse. The fact is it looks good and like virtually everything else in my army, it's a representation of the real thing rather than an accurate scale model. Anyway at this point in time my cavalry and horse artillery regiments have over 2100 mounted soldiers with an additional 700 on the way as I build my fourth army.
I will now detail the actual construction method itself which I must warn is hard and time consuming.
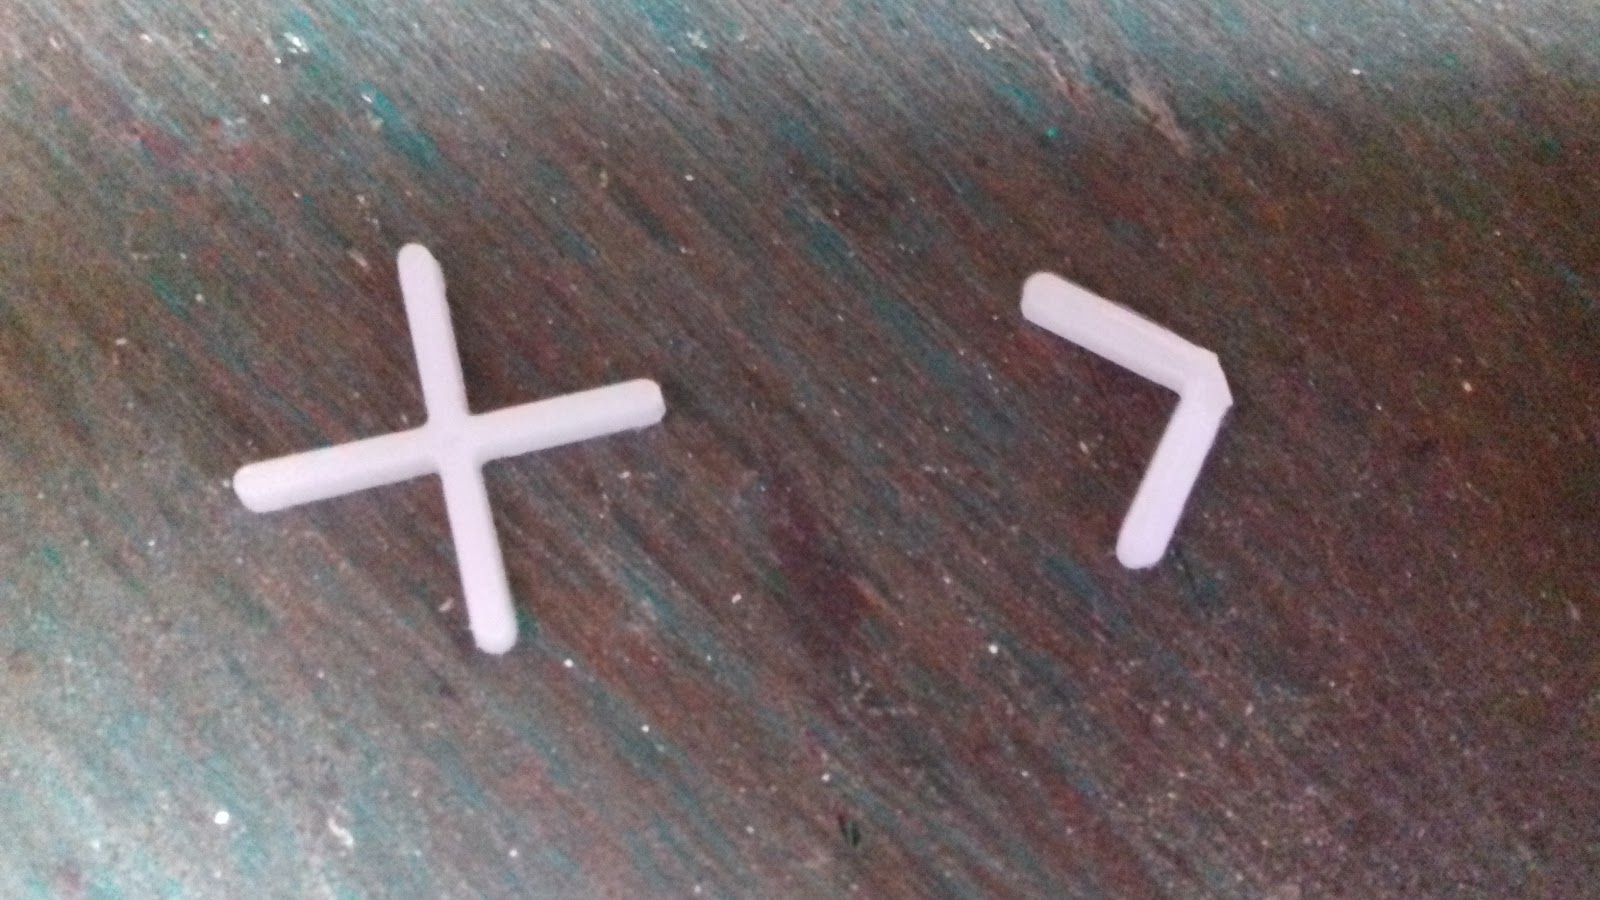
The starting point is a 2mm tile spacer. This is cut up to give a pair of legs.
Above is the before and after photo. Please note the flat cut at the top of the leg joint. The next step is to take a standard horse and drill a 2mm hole in the horse in line with the neck and about halfway down. Into this I force the legs. This is where the square cut comes in useful as it provides for accurate centring of the legs. I find that the square profile legs are a tight fit and usually require some force to get through the round hole. Be careful to cut off any flash on the legs before assembly otherwise you will not be able to force the legs through the hole.

The above photo gives two views of the assembled cavalry horse. The joint is covered with plastic modelling glue. The only time I use this smelly stuff I am pleased to say. I use Revell glue simply because the long spout makes it easy to drip the glue into position accurately. I do find however that the glue can melt the plastic into holes sometimes so I usually drip some more glue onto the joints next day to be sure of a solid bond and good painting surface.
The next step is the preparation of the screw soldier. Yet again this is a tedious job so I tend to cut 15 or so then do something else for a hour or two then go back and do some more until the required number are done. Basically the work involves cutting with a hacksaw into the slot on the screw head to make it deeper so it will sit on the horse. Interestingly the hacksaw cuts are the same thickness as the plastic card used for the horse.
I long ago found that holding the screw in a vice damages the thread so now I screw the screw into a block of oak which is fixed in the vice. Using oak means I can cut at least ten screws using the same hole. You will soon know when a new hole is needed. My cavalry regiments have 109 mounted soldiers so the ten or so holes needed use only a small area of the oak block. Every now and again I just saw the used bit off the block to enable a fresh start.
The above photo shows the cut screw. The depth of cut needs to be just less than the head and shank in total. The next job is to file both sides of the cut to remove any swarf, again tedious but essential. The penultimate task is to sit the screw on the horse. When the screw is sitting comfortably I use pliers to squeeze the cut end of the screw together as hard as possible, you will know you have got it right if the screw does not move.

The final task is to make sure the assembled cavalryman sits straight and level. Given the variations implicit in the manufacturing process it is almost inevitable that some adjustments will be necessary. It is trial and error to trim carefully either the length of one or both legs or trim a very small sliver off the bottom of the horse to achieve a good result. Don't rush this bit of work, it makes a lot of difference to the appearance and stability of the finished model. Don't get carried away either or you will end up with a Shetland Pony instead of a horse !!!
Finally, and after a great deal of work, you have a cavalryman ready for painting.....and he looks great !!!